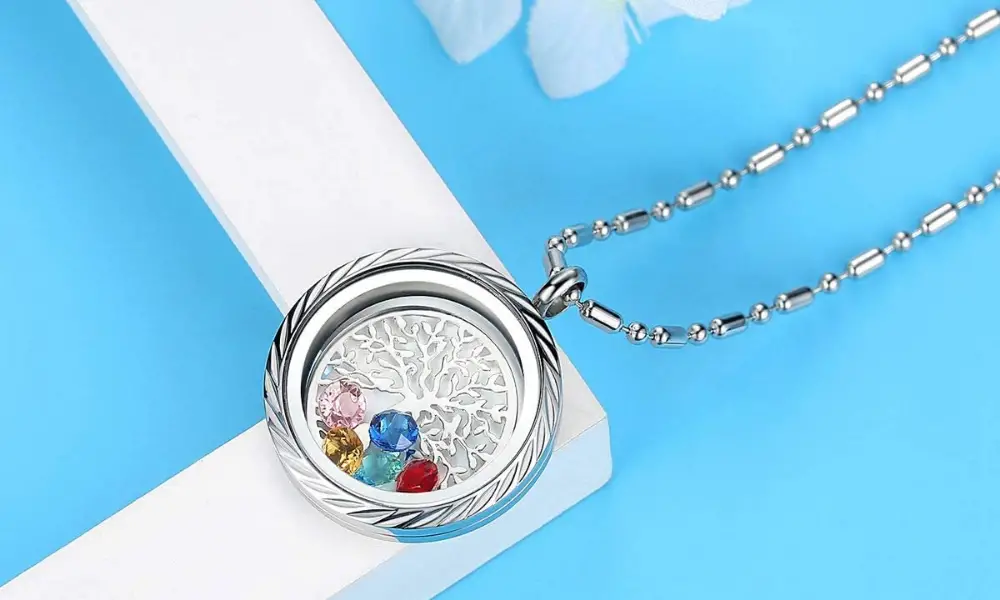
A locket is a sign of love and dedication for many women. It’s a piece of jeweler that holds a strand of hair, a photograph, or a memory. However, lockets have the disadvantage of being difficult to update or adjust to reflect a person’s changing life. Floating Birthstone Charms for Lockets are a new sort of locket that is created to be completely individualized and comfortable to wear. Each Floating Charm Locket is handcrafted and features a twist aperture that allows the wearer to add charms, beads, or other personal things to commemorate life’s most memorable experiences. Begin to tell your tale in your locket.
Floating charms are themed items that can be added to a locket singly or in a group to make it more personalized. Cavici has over 500 different floating charms to let you finish your piece of bespoke jewelry. These charms can contain the birthstone and then can be attached to lockets, bracelets, rings, or any other kind of jewelry as per your choice.
A Floating Locket Can Hold How Many Charms?
Large lockets can comfortably accommodate four to six charms, with extra room to add a decorative plate or crystals if desired. Three to four charms can be held in a medium-sized locket.
How many plates can fit in a floating locket?
One plate fits comfortably in a locket. Plates, like lockets, are available in medium and large sizes, with over 100 themes to match any locket.
What Are Floating Charms For?
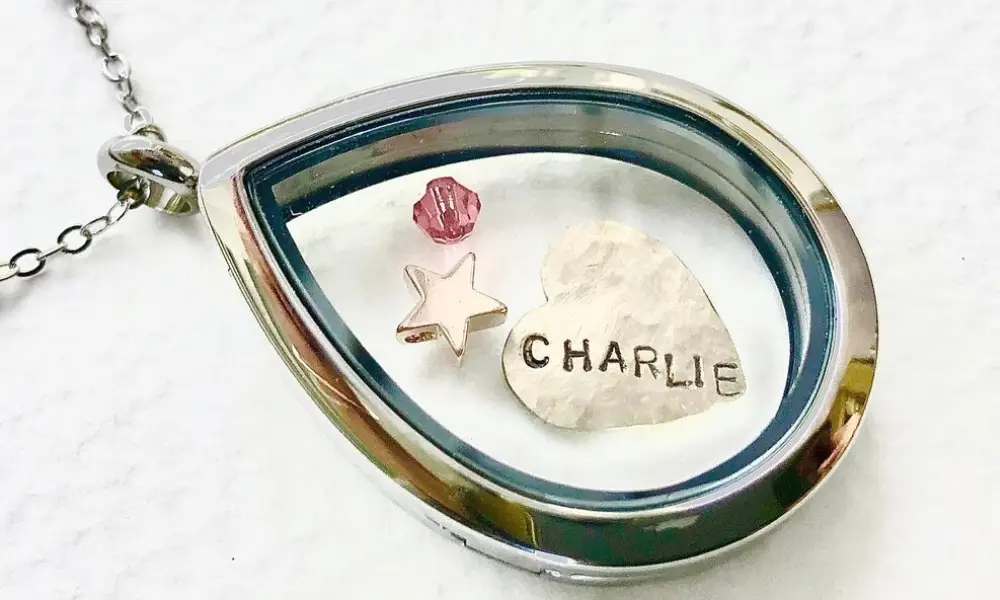
Floating charms are designed to be placed inside a locket to highlight a memory, theme, or any personal event that you want to keep dear to your heart and share.
How To Make A Vintage Locket?
No specific equipment or knowledge is required.
Everything I found online about manufacturing lockets required specialized equipment or knowledge. As a result, I set out to create one that was devoid of them. I’m sure it’s been done for hundreds of years, but it took me around 20 hours, a dollar’s worth of nickels, and half a box of paper clips to figure it out. If someone else produces one, it will be well worth it.
Step 1: Hammer Out Two Nickels
On a smooth surface, use a smooth-faced hammer. I like to start by pounding the coin with a tiny ball-peen hammer before moving on to a larger hammer. This keeps the coin in place and helps you direct your blows where they’re needed. Make sure you have your safety glasses on.
Hammer around the edge of the coin as the detail begins to fade. In the fourth image, notice how the coin has a tapering edge. Return to the middle with a hammer on the hammer once you’ve tapered the entire edge of the coin. Repeat until the coin measures 114″ in diameter.
Step 2: Heat the Metal
Bring your flattened coins to the stove. Warm the coins until they’re a pale pink color. In the sink, run cold water over them. The coins will rust and turn black. That’s OK.
This phase makes it easier for the coin to take on the shape that will be required in the next step.
Step 3: Make a Bottle Cap
Trace the required size circle onto the disc with a marker. I utilized a socket that was the same size as a nickel. Sandwich the disc between two sockets with a “C” clamp. The top socket should be slightly smaller. Make sure the coin is centered within the designated circle.
So that a skirt forms around the socket, hammer the disc at a 45-degree angle. When the disc’s edge is pounded closer to 90 degrees, ripples should appear in the skirt.
Take the skirted disc out of the clamp and replace it with two washers. These washers must be well-fitting. Cut away the ripples along the edge using tin snips. Replace the cap (no longer a disc) in the “C” clamp. Using a hammer, pound the skirt until it is flush with the socket’s side. Remove the cover but leave the socket in place. With a small hammer, refine the 90-degree edge of the cap on the anvil (I use my huge hammer as an anvil).
While the backing is flat on the anvil, use a punch to hammer away any indentations. Turn the cap upside down on a file with two washers inside. File the edges of the cap until they are exactly two washers tall. You should notice a distinct difference in the feel of your filing once it begins to cut the washers. You can also check the washers regularly to determine whether they’ve been filed down.
Step 4: Make the Wire Form
Using a coat hanger, cut a length of wire. Remove any coating on the wire with a scraper. Form a ring with a socket. The tail end of the wire should be bent towards the ring’s center. In the tail end, make a “U.” Remove any excess wire from the wire form so that it resembles the image.
Step 5: Roll the Edge Over
In the cap, place the wire form. Tap the shape into the socket you used to construct the cap. The cap should be pushed into a corner. Where the handle meets the business end, I used my hammer. Roll the cap over the wire form by hammering the edge at a 45-degree angle. Pull the wire form out once you’ve completed this all the way around. It will take some effort.
One cap will remain in this position, while the other will progress to the following phase.
Step 6: Dome the Cap
Locate two carriage bolts, one of which is larger than the other. Remove any letters of the bolts’ heads with a file. Hammer a convex shape into a scrap piece of wood with the larger carriage bolt. Place the cap over the indentation and hammer the dome’s basic shape with the smaller carriage bolt. Offset the cap after blows to the center to fill out the dome shape of the cap.
Place the carriage bolt on the anvil’s edge. To complete the shaping, hammer the cap over the bolt’s edge.
Step 7: Polish the Locket
A drill press is useful, but it isn’t required. Install a socket in your drill press through a bolt. Wrap the tape around the socket until the caps snap into place.
Rotate the socket and sand the cap with 350 grit sandpaper. Only sand the low regions on the cap to identify them. Hand sand the low regions with the drill press turned off. After that, sand with 2000 grit sandpaper and polish with a polishing compound.
Make sure you don’t inhale any metal particles.
Step 8: Cut the Hinge Grooves
Orient the caps such that they are as similar as feasible.
Make a mark where you wish the grooves to be cut.
Cut the grooves with a file.
Step 8: Make Hinge One
Two paper clips form the hinge, which is held together by a thicker gauge paper clip. Each hinge is essentially the same shape. The main difference is that one side begins with a sharp folding in half and the other with a “U” shape. Along with needle-nose pliers, use cone nose pliers.
Extend a paper clip and fold it in half on the first side. Completely crease the wire with pliers. With round nose pliers, loop the crumpled side’s end. Through the loop, insert a piece of heavier gauge wire. Using pliers, shrink the loop around the wire. Bend the wires 180 degrees apart from each other by splaying them apart. Bend the free ends into a circle using the socket.
Trim the free ends to ensure that they don’t overlap when sprung into the caps. Make sure any sharp edges are filed away.
Step 9: Hinge Two and Jump Ring
Fold a paper clip in half and extend it on the second side. Make sure the clip is positioned far enough down the needle nose pliers to form a “U” with the other hinge. See the photos once more.
Making a loop with the “U” Connect the hinge with the larger paper clip by joining it together. To make a tight fit, adjust as needed.
Pinch the free ends together and splay them apart, just as you did with the other hinge. Form the free ends into a circle, just like the other side.
Trim the free ends to ensure that they don’t overlap when sprung into the caps. Make sure any sharp edges are filed away.
To build the hinge pin/jump ring, use a part of the larger paper clip. Finally, sand and polish the hinge to remove any tool marks.
Peening the hinge pin, drilling the back cap to add a jump ring, and creating a tang in the locket to assist keep it closed are some other options.
Step 10: Assemble
I used a coin to draw out the pictures since I used a nickel-sized socket to construct the caps.
Close the hinge with the jump ring.
Cut and arrange the photos. Place the hinge between the caps.
By removing the hinge, it is simple to replace the pictures.
What Is The Significance Of Locket Charms Throughout History?
Regular lockets are pendants that are usually worn around the neck, although they can also be worn as a bracelet, ring, or another accessory.
Charms are still finding their way through the hearts and minds of the new generation, even if superstitions, seances, and voodoo seem to live only in fictional books and films.
As a result, items that are supposed to bring good fortune are still popular.
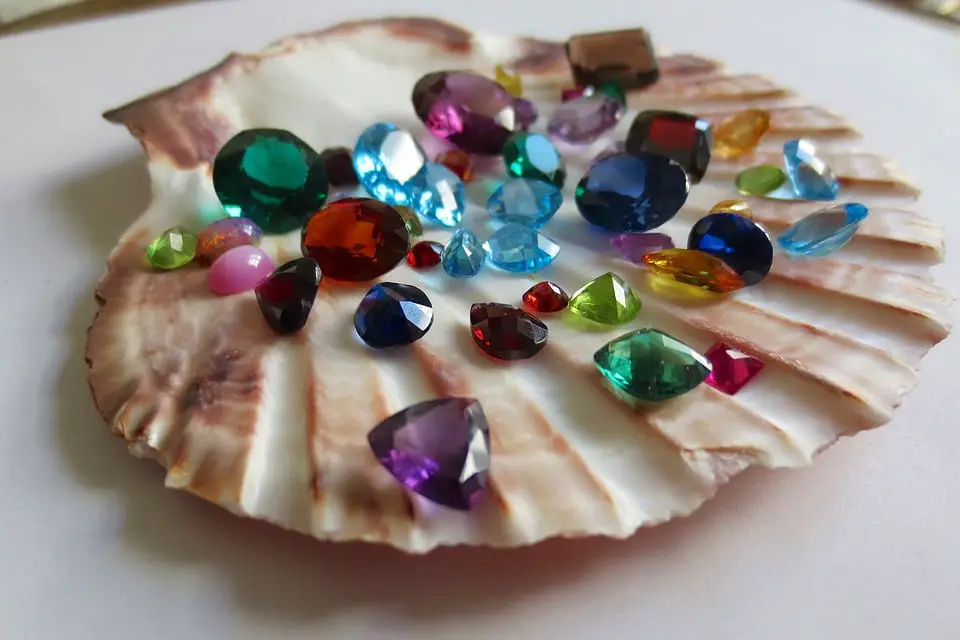
Four-leaf clovers, horseshoes, wishbones, gemstones, and Chinese ornaments like the Bagua or Pa Kua are among the most popular locket charms.
Apart from the concept that charms bring good fortune, legend claims that early people employed these artifacts for protection or to ward off evil.
They embedded these charms in their weapons and even jewelry because they were afraid of black curses and being physically attacked by demons wherever.
What Does A Locket Charm Consist Of?
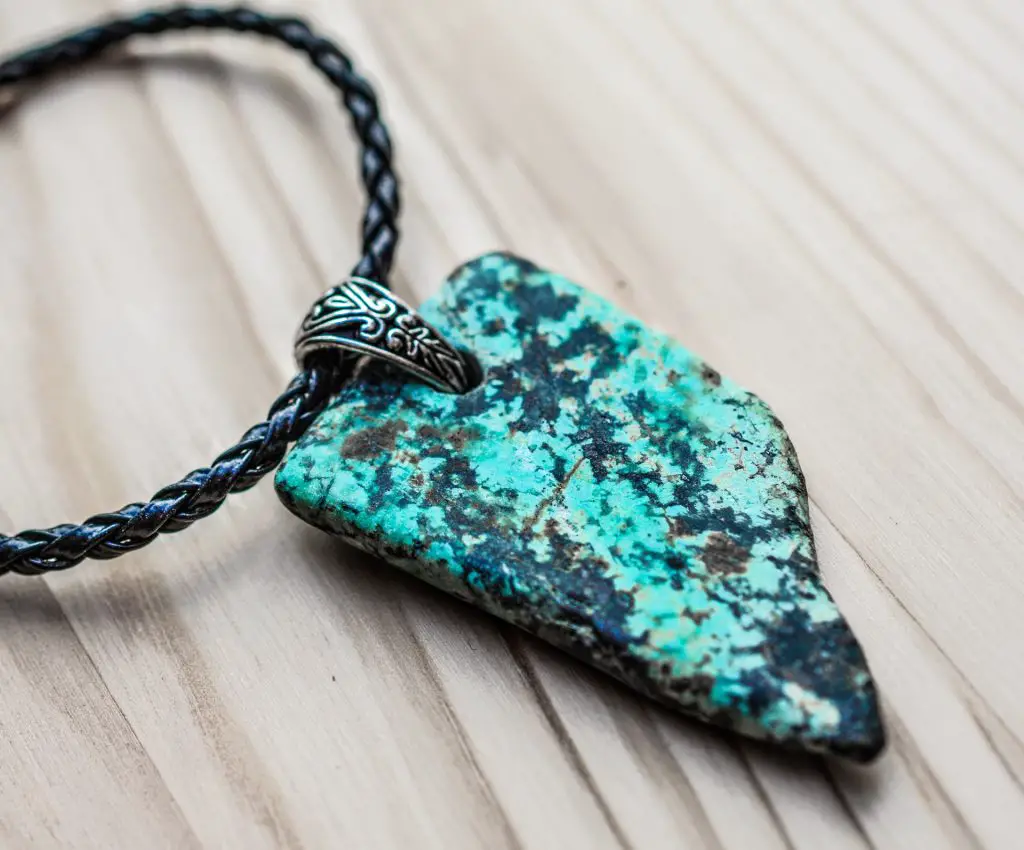
Shells, animal bones, wood carvings, and stones were used as charms in the past.
People later began to believe that by casting songs upon the charm, they could have a longer-lasting impact.
People have continued to maintain this religion by wearing locket charms until now. Anyone can feel safe bringing their charms with them wherever they go because of this invention.
Conclusion
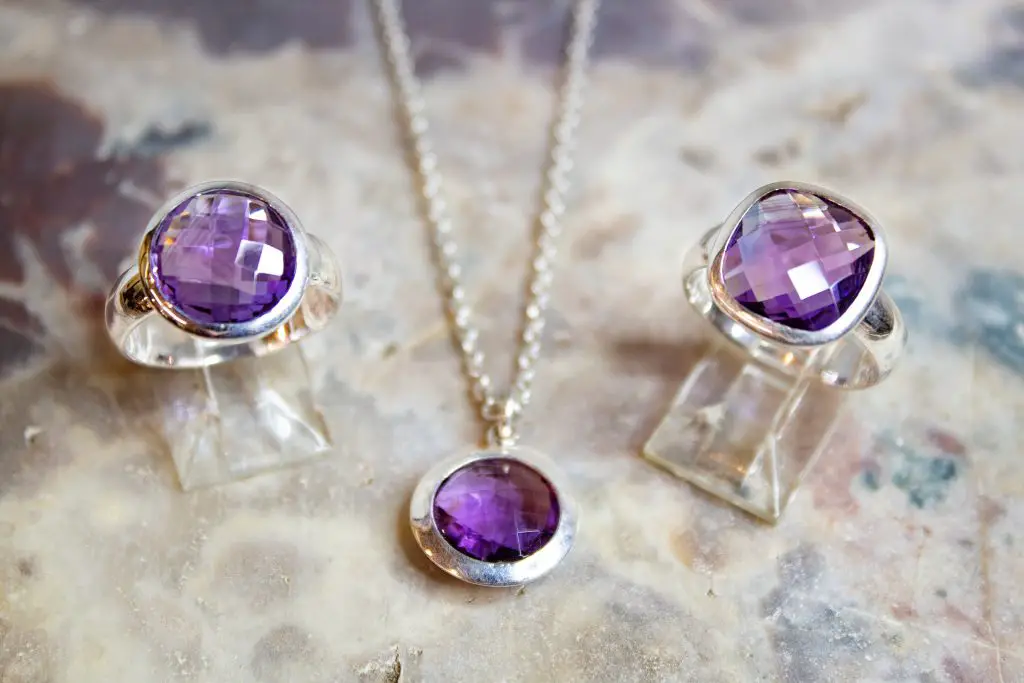
The Floating Locket Birthstone Charms will add some color to your personalized floating locket. To commemorate a birthday or simply add some glitter to your locket, choose from twelve 6mm cubic zirconia-colored stones in the round, heart-shaped, or bezel set. Depending on the size, each Build a Floating Charm Locket can store 7-10 charms. Birthstone floating charms are the perfect Mother’s Day charms to add to a locket! Simply select a birthstone for each child in the family so that a mother or grandmother can keep a memento of all her grandchildren close to her heart.