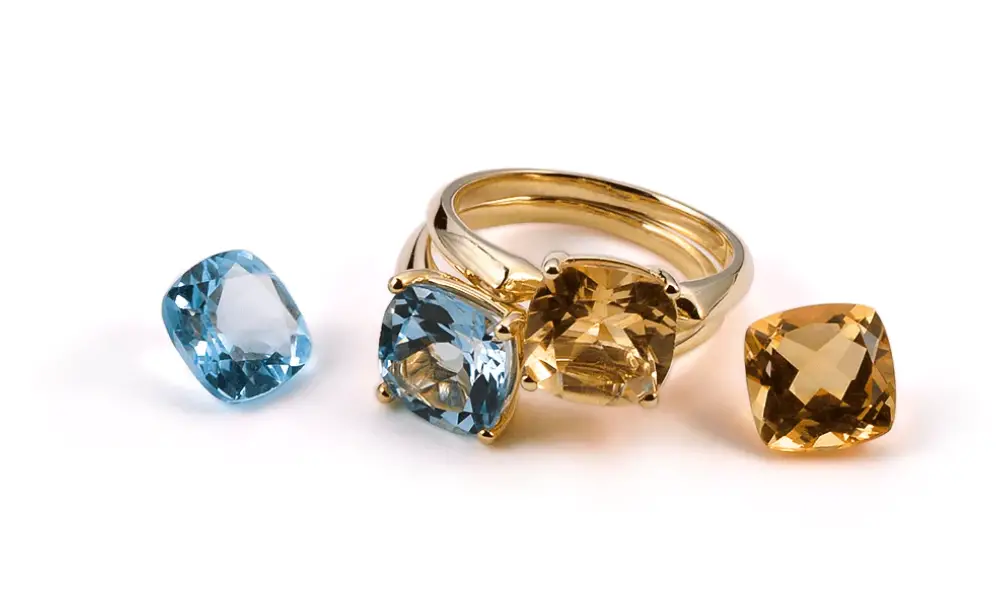
Learning to make gemstone rings is a great way to customize your jewelry and create a unique gift for someone special. If you don’t have any experience, you can purchase premade gemstone rings at a craft store. However, if you are more comfortable making your piece, there are many ways to design a ring. Some of the best ways to make gemstone rings include combining two or more gemstones, using different materials, and applying various types of glue.
Today, I’m going to demonstrate to you how to construct statement rings that appear expensive and take less than five minutes to manufacture using real stones and crystals.
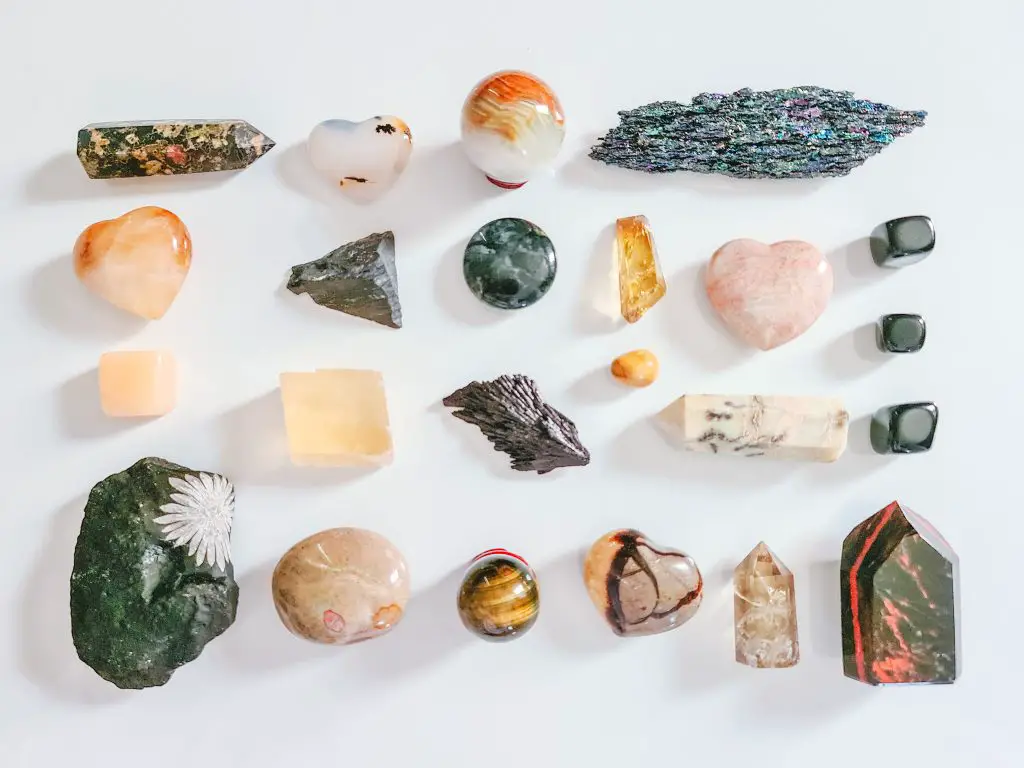
I made a couple of these rings in only a few minutes while pausing to take pictures because they are so fun. The materials are scarce and would even make straightforward wonderful gifts. You might catch me scouring the area for gorgeous stones I can eventually turn into rings the next time I’m on the road or camping somewhere fun.
How to Make Gemstone Rings?
It’s truly a pretty easy process. Glue the stone to the ring’s base to create your stunning ring. Apply your stone after carefully applying a small amount of adhesive to the ring. Let it dry for at least an hour while standing it up.
Use E6000 glue in a well-ventilated space. This material is potent, and if the space you’re in isn’t vented, it will smell awful. Before applying the adhesive, I gently and lightly sanded the more polished stones to improve adhesion.
Step 1: Materials Required
To make these gemstone rings, you’ll need the following:
- Oval-shaped gemstone,
- Craft wire,
- Jewelry pliers,
- Mandrel.
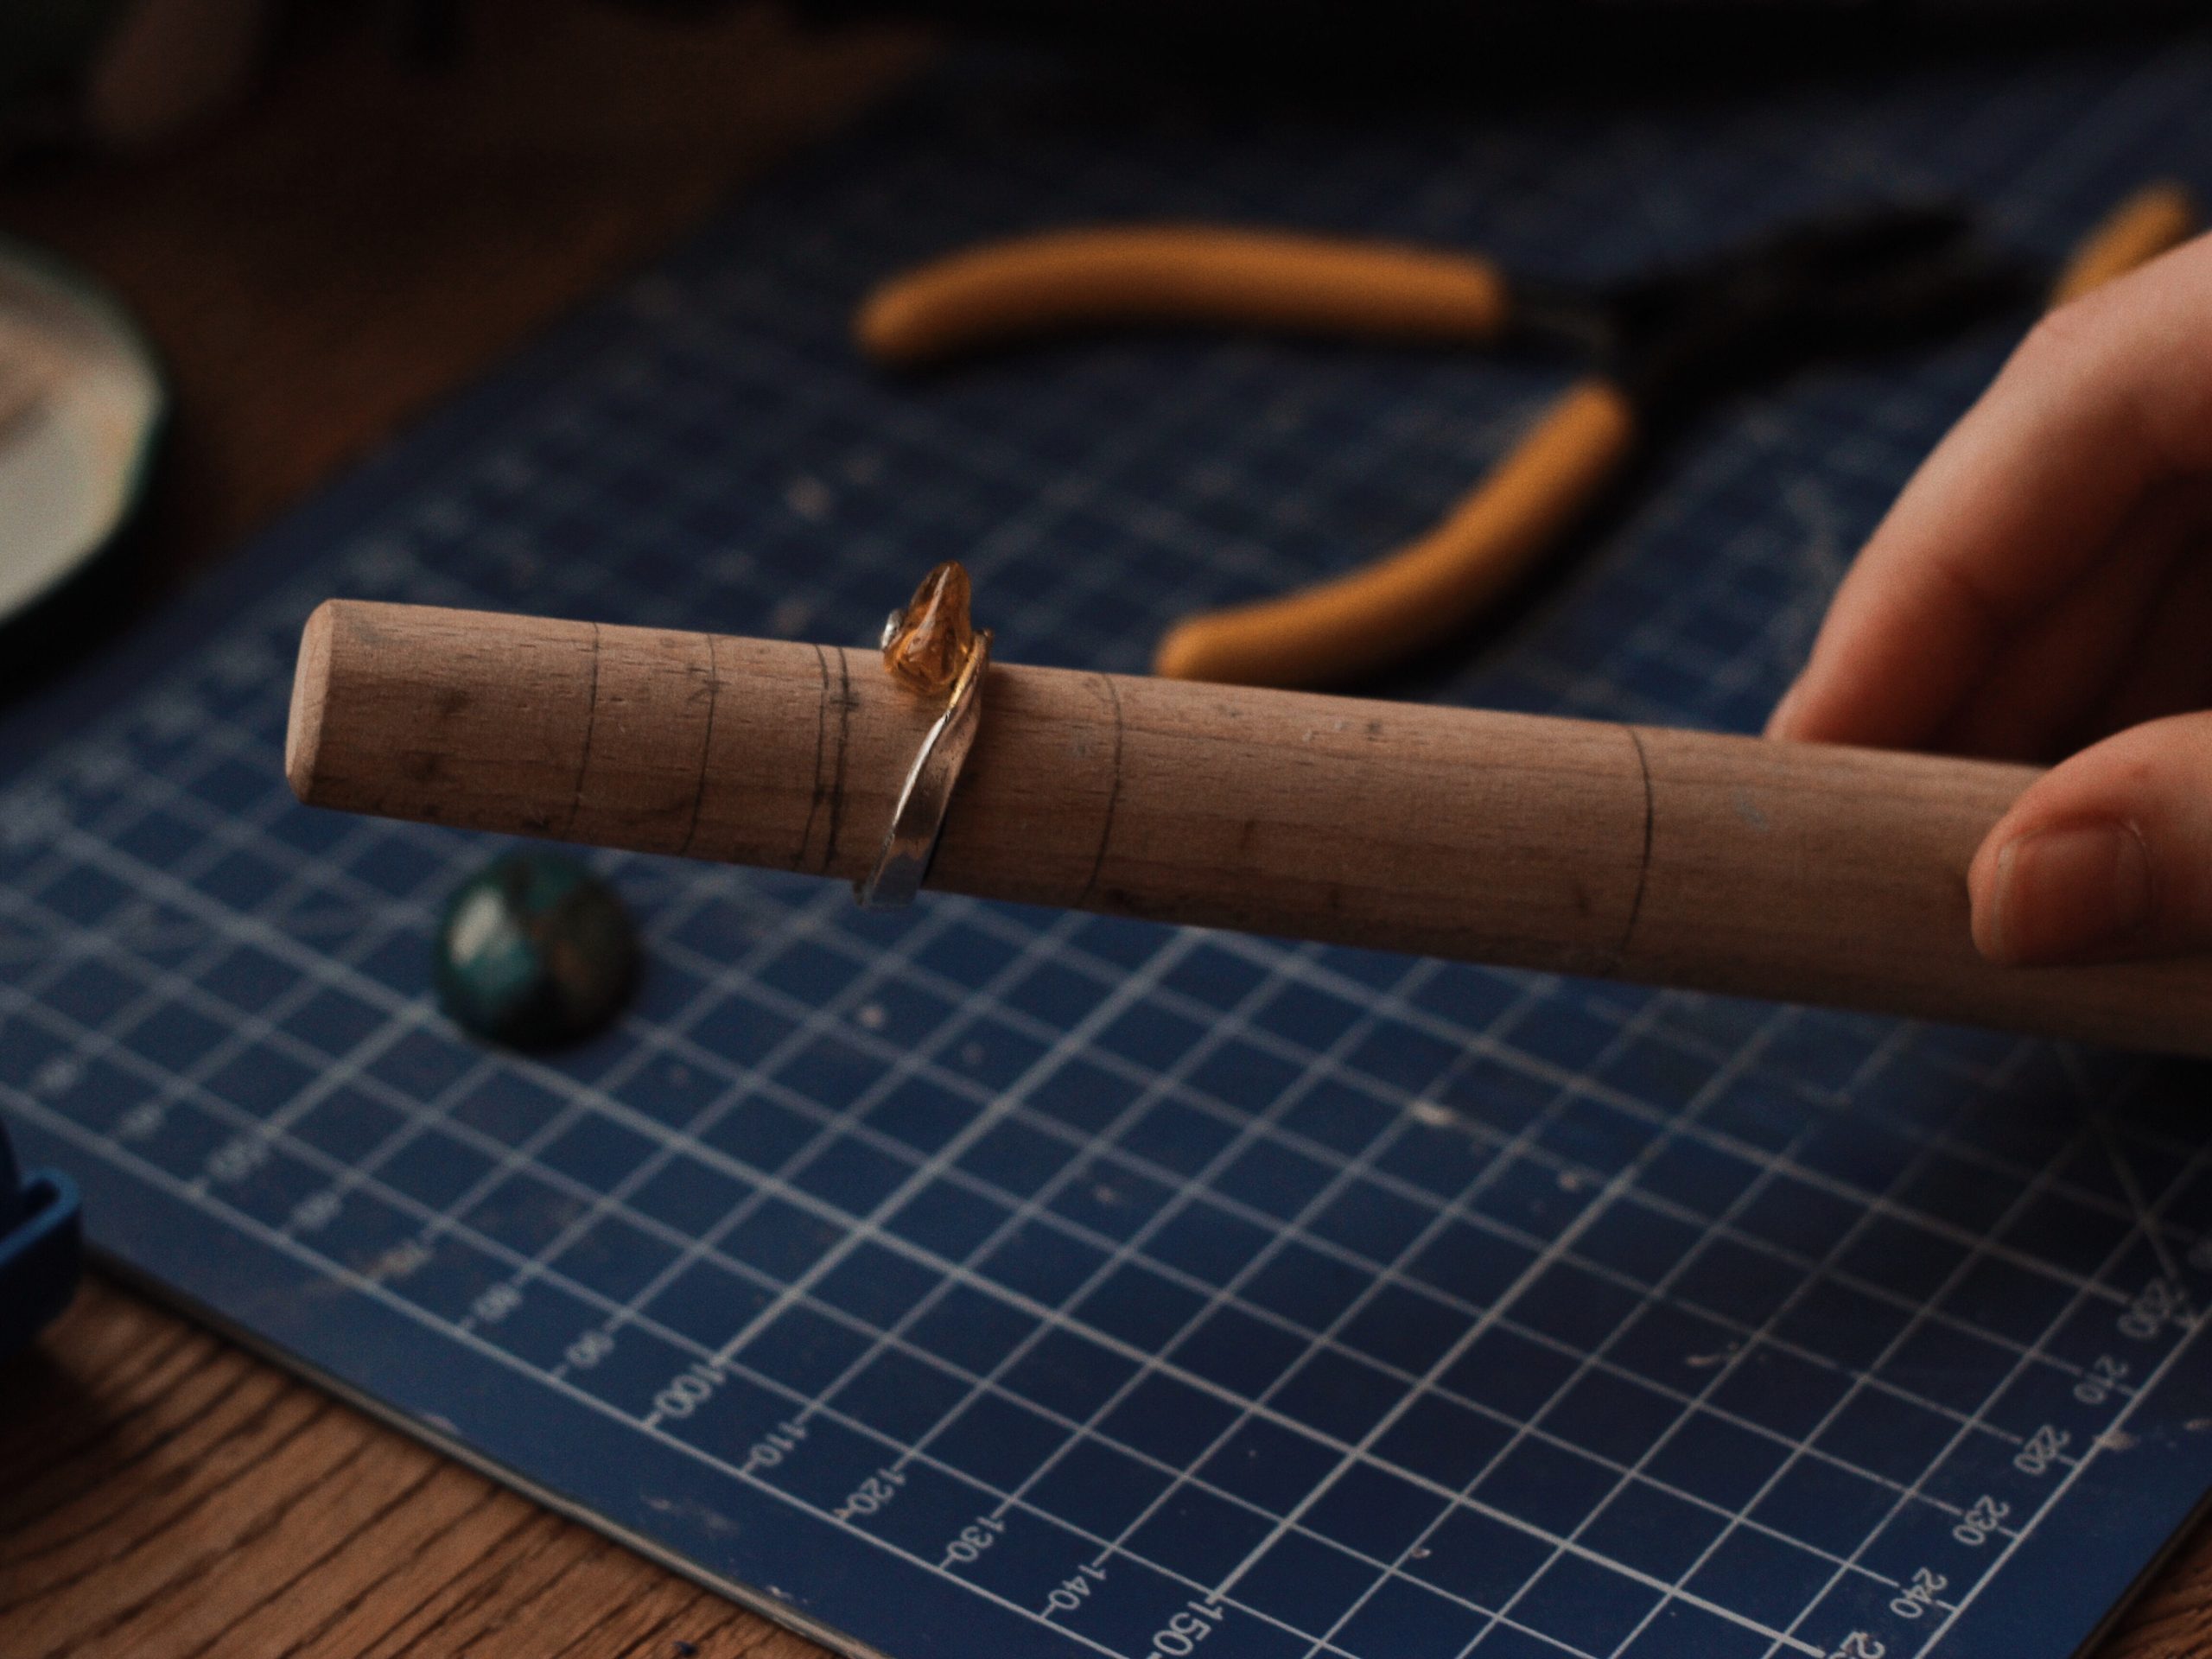
Step 2: Assembling the Base
Pick up a lengthy wire (20 inches or more, this would depend on your ring size).
One size larger than the actual ring size, wrap the wire twice around the mandrel. After wrapping, leave an equal quantity of wire on both sides.
The base will now be formed by coiling the wire on both sides in a counterclockwise direction.
Step 3: Finishing the Base
Use flat-nosed pliers to flatten the base and ensure that the stone will sit exactly on it.
Then, on both sides of the base, coil the wires about 2-3 times around the ring band.
Step 4: Gemstone Wrapping
Put the stone on the base and firmly hold it with your fingers.
As illustrated in the second image, take any one side of the wire and wrap the gemstone around it from the middle.
Use the remaining wire to weave a swirly design after wrapping the stone about three times. If necessary, cut any surplus wire. Do not tighten the wraps or swirl; keep them loose. Wrap and make a swirl on the opposite side in a similar manner.
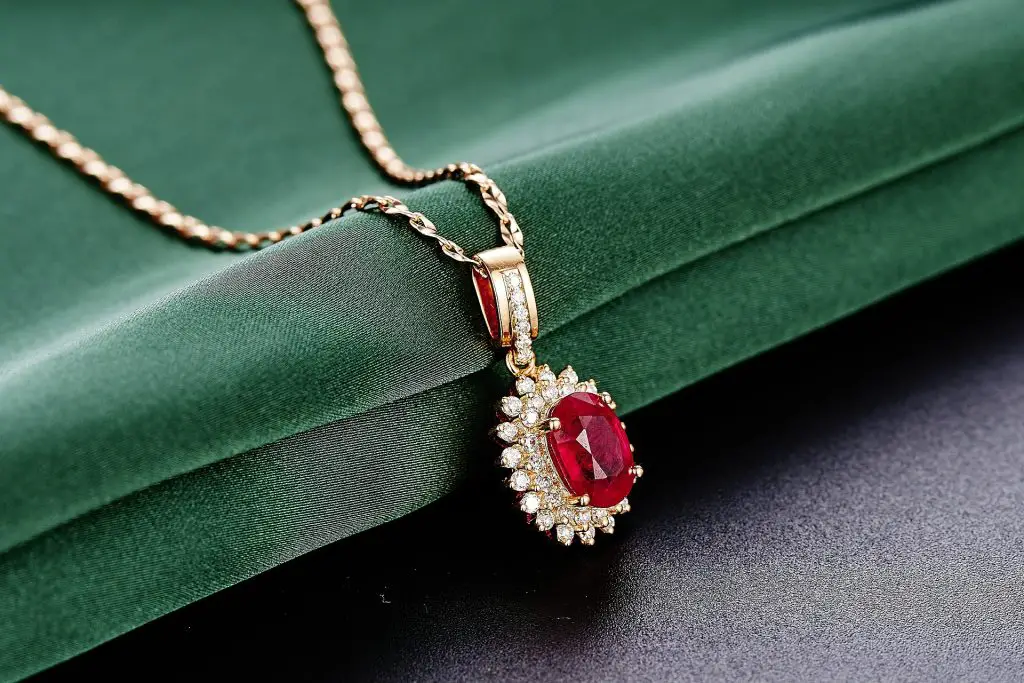
Swirls are fantastic. The finished ring was beautiful. I hope you have fun creating it! I have a different guide for creating stone pendants. Check out the tutorial to learn more about wire-wrapping stone techniques.
Making Three Different Stone-Shaped Wire-Wrapped Rings
1. A Wire-Wrapped Ring Featuring a Round Gemstone
A 22/24-gauge half-hard wire is required.
Your choice of 30-Gauge Soft Wire Round Bead (I used a 6mm Amethyst bead)
ESSENTIAL TOOLS
Chain Nose Plier Ring Mandrel Looping Plier Wire Cutter
STEP 1: FORM THE GEMSTONE’S BASE
As illustrated in figure 2, take a piece of 22-gauge wire and wrap the middle around the looping pliers. The circular bead will rest on the wire loop that has been made as a basis. Then, using a chain nose plier, bend the two ends outward.
STEP 2: WRAP THE RING
Completely encircle the ring mandrel with the piece. Thus, we will get the fundamental ring shape shown in picture 5. Bend one end upward and the other downward to accommodate the extra wire at the front.
STEP 3: WEAVING THE RING
Weave a section of 28/30 gauge wire into the main wire to fasten the ring. 5 wraps around the two layers and five wraps around a single layer make up the weaving pattern I employed. The next two projects likewise followed this methodology.
STEP 4: INSERT THE BEAD
We can weave it and then add the circular gem to the base. Pass a short thin wire through the bead and encircle the base.
We still have two loose ends at the front at this stage. Both can be wrapped halfway around the bead and fastened at either end once or twice.
Our straightforward wire-wrapped ring with a round bead is now finished!
2. Wire-Wrapped Ring with a Gemstone in the Shape of a Teardrop
ESSENTIAL MATERIALS
Half-hard wire in gauges 22/24 (25 – 30cm)
Your choice of gemstone in a teardrop-shaped 28 gauge soft wire (I used a 10mm Blue Crystal)
ESSENTIAL TOOLS
Chain Nose Plier Ring Mandrel Wire Cutter
STEP 1: CREATE THE TEARDROP GEMSTONE’S BASE
Let’s use wire to make a sharp corner to accommodate the teardrop shape. With a chain nose plier, fold a piece of 22 gauge wire in half. Then disassemble two legs to reveal the acute corner.
STEP 2: WRAP THE RING
Completely round a ring mandrel with the item. You will thus obtain a roughly ring-shaped object with three wire layers at the back and a triangle at the front (picture 4).
As with the previous project, weave the ring. Then, at the point where the weaving pattern ended, fasten the ring using the two ends of the 22 gauge wire (picture 6).
STEP 3: ADD THE TEARDROP GEMSTONE
Using 28 gauge wire, affix the teardrop gemstone to the triangle’s center, as seen in figure 7. then proceed to wrap the wire around the triangle’s sides ten more times (picture 8).
Using the remaining 28 gauge wire, we can create a cross in the front of the top-drilled teardrop bead to securely hold it in place. Next, as seen in image 9, secure the wire at the triangle’s peak.
Our beautiful teardrop-shaped gemstone ring is now finished!
3. A Marquise-Shaped Gemstone Wire Wrapped Ring
ESSENTIAL MATERIALS
22/24 Gauge 50% Hard Wire (25-30cm)
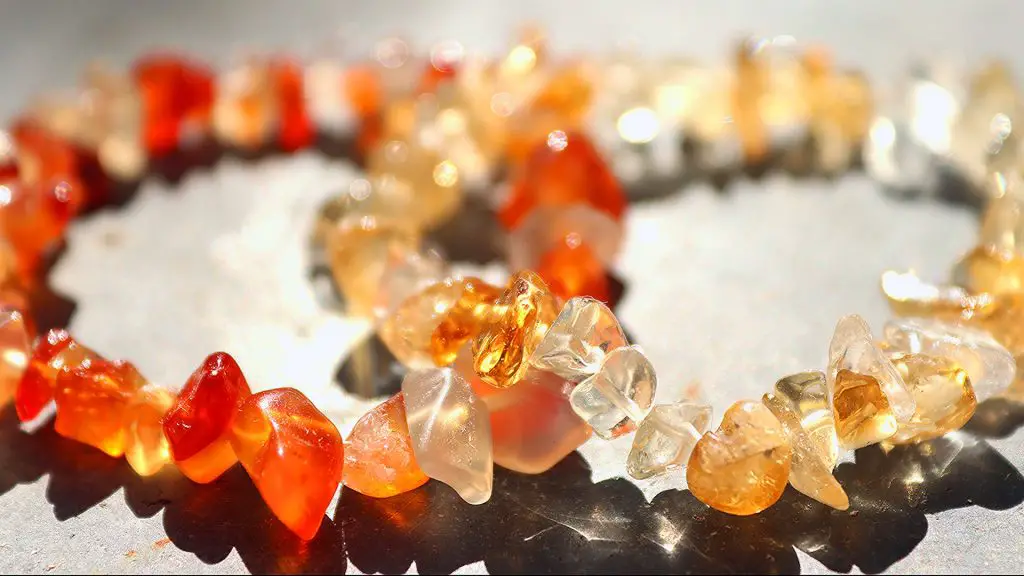
Your choice of gemstone in marquise shape on 28 gauge soft wire (I used a 13mm Citrine Gemstone)
ESSENTIAL TOOLS
Chain Nose Plier Ring Mandrel Wire Cutter
STEP 1: MEASURE THE GEMSTONES
In contrast to the previous two projects, which begin by creating the base, this project waits until the very end to create the base. To ensure enough space on the ring, we must first determine the width of the marquise gemstone. The bead I’m using has a width of roughly 8mm. Therefore, it needs to be on the ring for about 1.5 cm.
STEP 2: WRAP THE RING
The ring mandrel should be encircled with a piece of 22 gauge wire. Using a chain nose plier, bend the wire’s upward-pointing end. The weaving process begins at this curve. Then keep weaving until there is approximately 1.5 cm remaining.
STEP 3: MAKE THE BASE FOR MARQUISE GEMSTONE
Bend the opposite end of the wire downward after weaving. Get the shape that is depicted in figure 5.
The left side wire should shape a triangle at the top of the ring using chain nose pliers. The right side wire should then shape a symmetrical triangle in the ring’s base. A diamond-shaped pattern is created as a result. Adjust the diamond to ensure that our bead will fit within its width and length.
STEP 4: ADD THE MARQUISE BEAD
Wrap 28 gauge wire against the base on both sides three times to secure the bead’s top. Next, create a cross before the bead and re-wrap the wire at the base.
Our gorgeous marquise citrine gemstone ring is now finished!
If you enjoyed today’s instruction, please pin the photo guide below to share it with your friends. I’m grateful.
Keeping your Gemstone Rings Clean
Simple gold rings should be soaked in water and soap, as we previously advised in our guide to gold rings. We would not, however, advise doing the same for gemstone jewelry. Please refrain from soaking your gold ring in water if it has gemstones embedded in it. While some hard stones, like diamonds, are resistant to damage from this technique, many other gems are vulnerable to harm when submerged in water for an extended period (for example, emerald or onyx). So, could you stay away from it entirely to be safe? Instead, use the advice in the following paragraph to clean your gemstone rings at home.
1. Create a solution with several drops of mild dish soap in a bowl of warm water.
2. Dip a soft fabric and dampen it in the solution. Then, clean the metal components and jewels on your ring using a dampened towel. Rub the stones gently and cautiously to avoid scratching or damaging them.
3. After your ring has been cleaned, use a second soft cloth soaked with regular water to remove the soap residue from its surface.
4. After using a soft cloth or towel to dry the clean ring, let it completely air dry.
Keeping your Stone Rings Safe
The same goes for storing your gemstone rings for cleaning them. Holding your rings in a dusty environment can only make them dirtier. Additionally, you don’t want them to become dull and scraped. So, we advise that you store them in a secure location. Keep your gemstone rings away from anything when not wearing them, including heat, water, chemicals, mud, and dust. Keep them somewhere dry, soft, and cool to store. You can store them separately, wrapped in cotton or soft fabric, in a box or pouch. Never store them with imitation jewelry or other valuable jewelry because it could scratch them. They can also be kept in the same box the jeweler or jewelry retailer gave you.
How to Wear your Gemstone Rings Correctly?
Wearing your gemstone rings properly is the third most crucial step in caring for them. You must wear your rings properly and protect them from damage if you want them to continue shining like new. The jewels can get scratched if you clean and scrub your ring with your hands. Avoid wearing your stone rings when cleaning, washing dishes or clothes, taking a shower, swimming, or cooking. The stones may come into contact with oil, ingredients, water, heat, etc., while cooking. Therefore, it is best to avoid wearing them when cooking.
Which Glue should I Use for Gems?
The most favored and popular glue at Kernowcraft for manufacturing jewelry and setting gemstones is Devcon 5 Minute Epoxy Glue. It dries transparent and forms a strong connection, making it ideal for stone settings.
Adiseal has been shown by an independent adhesive strength test to be the strongest adhesive, making it the ideal adhesive to use on stone. Adiseal adheres nearly any kind of material to stone while being flexible, watertight, high gap fill, high grab, and UV resistant.
How are Gemstones Kept Shining?
Perfumes, lotions, and cleaning supplies can harm soft-organic gemstones like pearls, so keep them away from your jewelry. Jewelry made of colored stones should be gently cleaned with a soft-bristled toothbrush and warm, soapy water. After that, gently dry using a cloth free of lint.
To polish a stone, submerge it in water, then rub it with 60-grit sandpaper. Wet the stone frequently as you use the sandpaper to smooth off any sharp edges for the greatest shine. Use 160-grit sandpaper to remove the scratches left by the rougher sandpaper after the stone has been rounded.
Conclusion
Whether you’re interested in making gemstone rings on your own or taking an online course, a workshop can help you achieve your goal. A workshop may include a few hands-on activities depending on your skill level. Students learn metalsmithing skills and the steps involved in setting a gemstone. They will also learn how to sand and shape the gemstone, as well as how to solder and cut it. A workshop will only go ahead if it’s attended by two or more students.