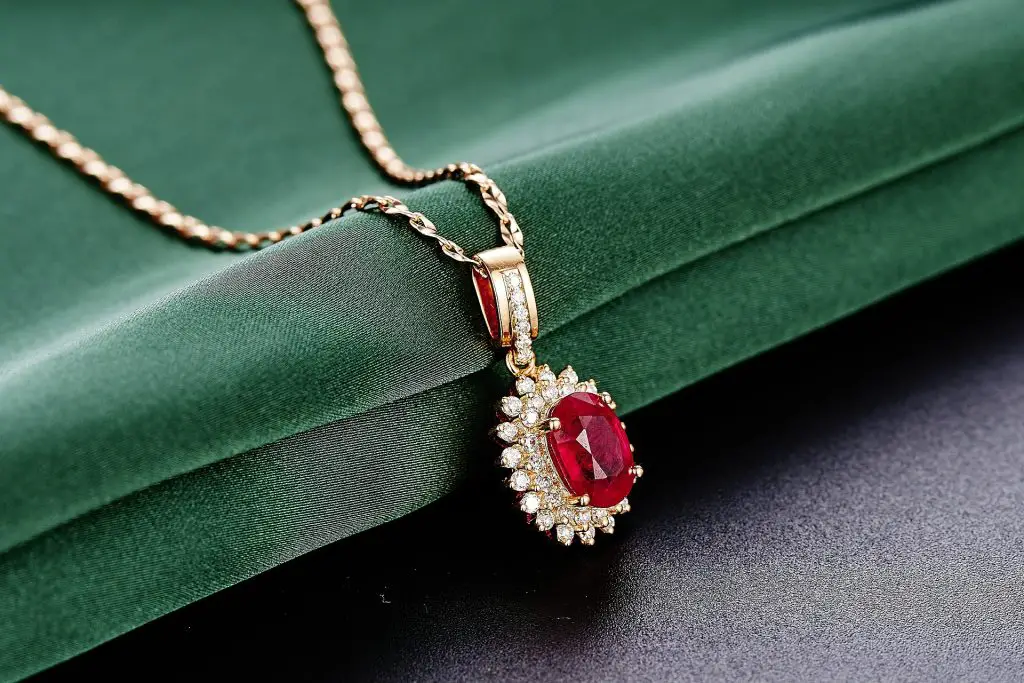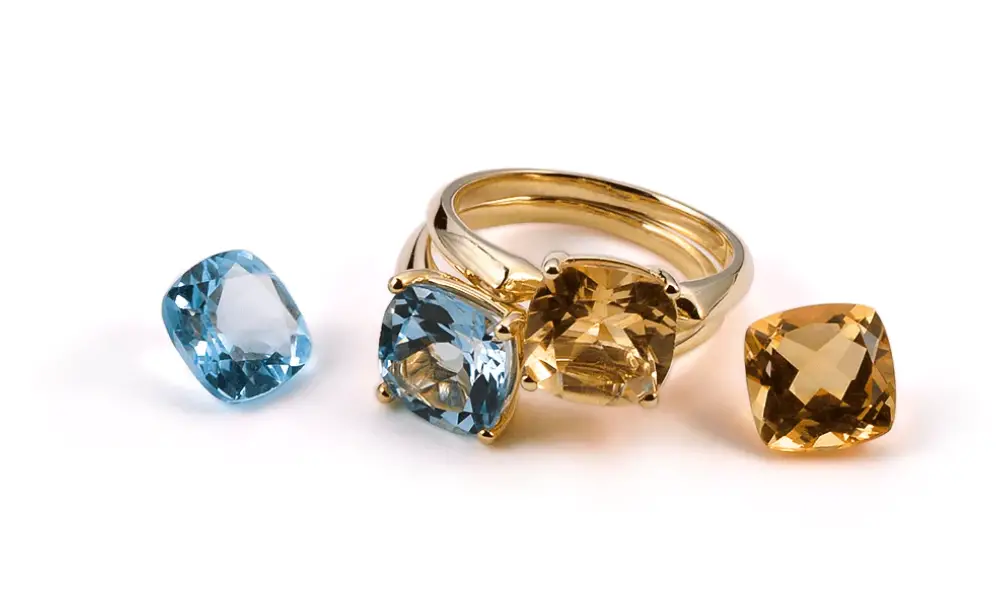
If you are unsure about the type of gemstone you have, the most straightforward method is to study it closely. While basic inspection can provide a general sense of the sort of stone, using a loupe or light can assist you in determining what type of gemstone you are looking at. When identifying gemstones, look for color, tone, cut, and size that distinguish the stone from others. If a gemstone exhibits any of the qualities listed above, it is likely a mineral.
You’ve found a terrific deal on loose gemstones and purchased a package of them…now what? “How can I identify what stones are in my parcel?” is the most often asked question we receive from gemstone buyers. In roughly five stages, you may learn to distinguish the topaz from the tourmaline and practically any other gem. Practice specific gemological instruments, and this tutorial will help you do so. In addition, if you enjoy a good mystery, you’re in for a treat here!
Step 1 – Basic Observation: Color, Transparency, and Specific Gravity
You’ll need the following tools:
- Tweezers
- 10x loupe
- Light source
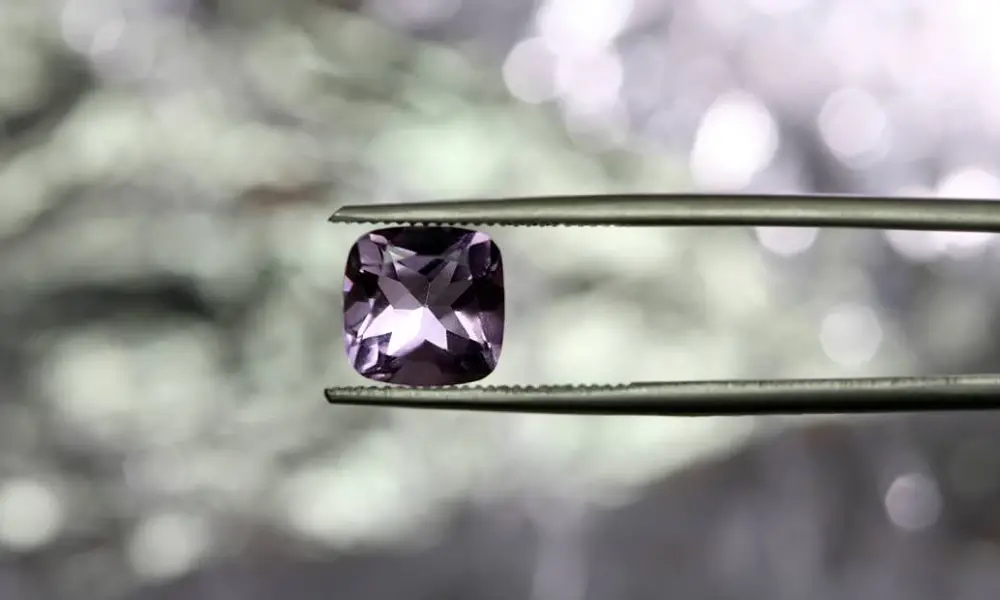
Basic observation should be done with the naked eye or, in some situations, with a 10x triplet loupe in daylight-equivalent light. A microscope with high magnification is not required at this time. View the stone face-up and from the side (as shown) under daylight-equivalent or fluorescent light while keeping it approximately a foot from your eyes and over a white or grey background (like a gem cloth, as shown). The investigation is now underway.
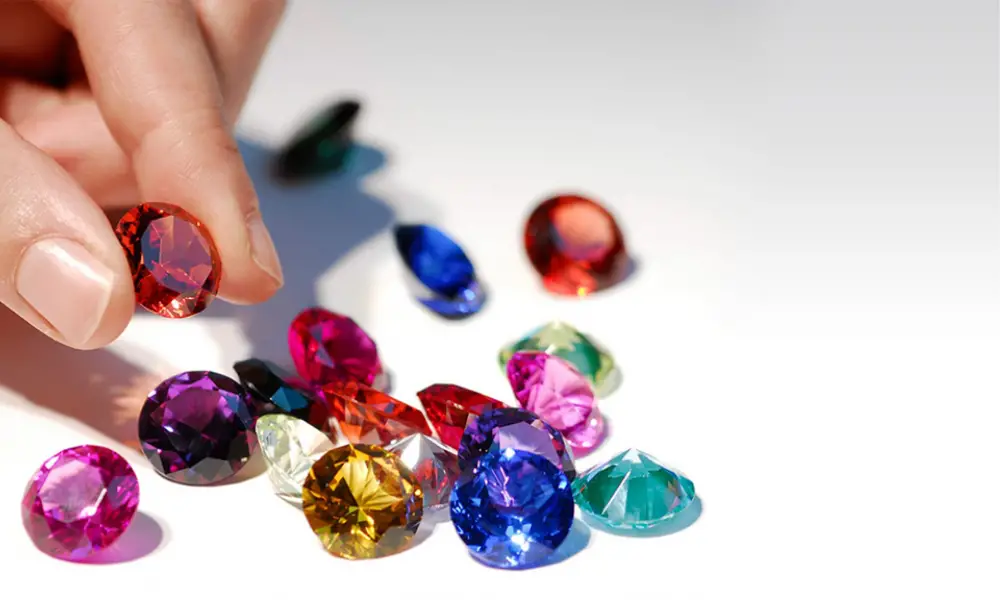
Color: Hue, Tone, Saturation
Color is the simplest way to distinguish and identify gemstones. Color comprises three components: hue, tone, and saturation, which you’ll assess throughout the general observation. In general, don’t shine a light through the stone to value its hue unless it appears black, and you need to see if it’s dark blue or green or anything similar.
Hue
Take note of your gemstone’s primary general body color (or “hue”) by looking at it as a whole. Try to be as specific as possible—is it an actual blue color, or is it a blue with a slight greenish tint? It’s either bright red or somewhat purplish red, depending on your preference. The GIA’s color wheel contains 31 different hues, and the more exact you are in your description, the better “proof” you’ll have when it comes time to identify your stone.
Tone
Is your gem’s tone light, medium, or dark, or is it somewhere in the middle? Tone specifies how dark or light a color is. The Gemological Institute of America (GIA) employs seven tone levels to characterize colored stones, ranging from extremely light to dark. Decide whether your stone is light, medium, or dark, and then try to be more descriptive about its color (very light, medium dark, etc.).
Saturation
Then assign one of six grades to the color’s strength or intensity (saturation), ranging from drab to vigorous to vibrant. To determine saturation, first determine whether the hue of your stone is warm (yellows, oranges, reds) or cool (purples, blues, greens). Look for brownness in warm-colored stones. The lower the brownness in color, the better, and the higher the saturation of the stone. Warm-hued stones with more brownness have lower saturation. Look for the presence or absence of greyness in cool hues. Many greys suggest low saturation, while a little or no grey indicates high or vivid saturation. According to my instructor, when looking at your stone, if you don’t “see or feel” brown or grey, it’s definitely in the “strong” saturation zone. It’s unusual to see vivid saturation.
Transparency and Specific Gravity
You must choose whether your stone is transparent, translucent, or opaque. Then, if your stone has any fire or dispersion, assess its strength and whether it’s strong, moderate, or weak.
To determine the weight of the stone, bounce it in your palm. Do you believe it’s as hefty as you think it should be for its size? Is it extremely heavy or unusually light? This is a simple method for determining the specific gravity of a stone. It’s not perfect, but it’ll do for now.
Step 2 – Light it and Loupe it: Optical Phenomena and Luster
You’ll need the following tools:
- Tweezers
- 10x loupe
- Penlight
Optical Phenomena
Check for unusual optical properties (phenomena) such as color shift, asterism (star), chatoyancy (cat’s-eye), adularescence (floating shimmer), sparkle, and so on, bypassing a penlight or similar bright, concentrated, incandescent light beam across the stone’s surface.
Luster
To determine the luster of your stone, turn it such that light reflects off its surface (as illustrated). Examine the stone with your naked eye and a 10x loupe (as shown). What do you think you see? Is it drab, waxy, metallic, diamond-like (adamantine), gleaming, vitreous (glass-like), greasy, silky?
If the stone has any chips, describe the surface within the chipped region. Is it conchoidal, like the rings on a seashell, or straight, like stairs, granular, splintery, or simply uneven? Determine the luster in the chipped areas as well.
Step 3 – Determining Refractive Index and Birefringence
You’ll need the following tools:
- Refractometer
- Refractive index (RI) fluid
- Refractive Index (RI) Testing
The RI of a gemstone has proven to be the single most helpful information in establishing what that stone is. “Taking the RI with a refractometer is the easiest and most accurate technique of clearly recognizing these distinct gems that can look fairly identical in small sizes,” Boyle adds. However, using a refractometer takes some experience and might be irritating at first, but once you get the hang of it, it’s a lot of fun and well worth the effort.
Make sure your stone is still clean before you begin. Also, because refractometers require a light source, you’ll need to shine a light into the light port on your back if it doesn’t have one built-in. Almost any light will suffice; however, monochromatic light will provide a crisper, more accurate reading than white light.
When taking a gem’s RI, close the refractometer’s lid as much as possible to prevent ambient light from interfering with your reading. Finally, periodically check your refractometer’s calibration by obtaining a test reading on a known stone.
I won’t go into depth because refractometers come with instructions, but here’s the short version (as shown on the right):
- Apply a tiny dot of RI fluid (approximately the size of a pinhead) on the refractometer’s metal surface near the back of the crystal hemicylinder. You don’t need much RI fluid because it’s only designed to be a channel between the stone and the crystal.
- Place the most significant/best-polished surface or facet of a faceted or cabochon stone face down on the fluid dot and slide it through the fluid into the middle of the hemicylinder crystal (using your fingers as indicated, not tweezers or the precious hemicylinder crystal will be scratched). Long stones (marquise, oval, pear, or rectangles) should be oriented lengthwise with the hemicylinder crystal. If you’re using a freeform stone, position it so that some of the polished surfaces contact the fluid and the crystal, as indicated, and take your reading. Remember that RI readings can only be obtained from polished stones. Gem rough or unpolished stones will not give a RI reading.
- While bobbling your head slowly, look through the viewer lens (without magnification at first) for “the bubble.” (Yes, you should bob your head.) If you don’t see the bubble’s outline, softly glide the stone back and forth over the crystal until you do. Take note of the bottom of the greenish or grey bubble outline (depending on your light source) (as shown). This is your approximate reading to the closest hundredth decimal place or two decimal places (0.01).
- Place the magnifying lens on the viewing lens and take a more precise reading, rounded to three decimal places or thousands (0.01). For birefringence testing, leave the stone on the crystal.
The secret appears to be in the head bobbing, at least for me. I know that seems funny, and I thought it was strange when the instructor mentioned it in my gemstone ID lab class, but it was real. I discovered that no matter how hard I tried, I couldn’t see the reading if I looked too complicated or focused/concentrated too much. After all, it’s a few-times-removed reflection of a liquid bubble, so it isn’t easy to envision it being an exact image. However, if you bob your head gently while watching, it will emerge, and you’ll hopefully obtain a near enough reading to work with.
Some stones will have a pronounced, very apparent “bubble,” but I recommend getting as close as possible and moving on to the more shy stones. According to Boyle, most RIs are offered in a range of numbers because “A gemstone’s refractive index varies slightly depending on where it was mined. As a result, many books or RI charts provide a range.” I discovered that I got a better reading than I expected in most cases. If the number you get proves useless, you can always try again later.
Birefringence Testing
Birefringence testing will provide you with yet another vital trait of your stone that will aid in identifying it. To determine a stone’s birefringence, make a series of around six 30-degree revolutions while the stone is still on the hemicylinder crystal until the stone has turned “upside-down” or 180 degrees (as shown in the rotating image at right).
Imagine the stone as a clock with a vertical line running from 12 at the top (the edge furthest away from you) to 6 at the bottom. Take another RI reading by turning the gem clockwise until the top edge of the stone moves to roughly 1 o’clock. Continue moving the stone toward 2 o’clock, then 3 (halfway, or a 90-degree angle), 4, 5, and ending “upside-down” at 6, recording a RI at each turn on scratch paper. If the readout does not appear to change, turn it at least three times to be sure. To determine the stone’s birefringence, subtract the lowest reading from the highest, rounded to three decimal places or thousandths (0.001).
- Tip for Taking Care of Your Refractometer
My instructor gave me an excellent tip for taking care of your refractometer. Rub a dab of petroleum jelly on the hemicylinder if you won’t be using it for a time to keep it from tarnishing.
Step 4 – Determining Single Vs. Double Refraction
You’ll need the following tools:
- Polariscope
A polariscope is a handy instrument for determining whether your gem is doubly refractive (DR), singularly refractive (SR), or aggregate (AGG). Only transparent and translucent gemstones should be utilized; opaque or nearly opaque stones will not yield a reading.
Turn on the light and set your stone face down on the polarizer to use a polariscope (the lower glass lens). The analyzer (the top lens) looks down on the stone, turning the analyzer until the region around the stone appears the darkest. This is where you should begin. Turn the analyzer 360 degrees while watching the stone until the region surrounding it becomes bright and then dark again, as indicated.
Tip: If you’re having problems noticing the light/dark change in your stone, cut a small hole in a white card and place it over the analyzer as shown to block out some of the light and distractions. Then look through the hole at your stone and try to get another reading. A similar trick could help you focus your attention on the most transparent part if the stone is extensively included.
If your stone seems dark and continues to appear dark, it is most likely SR. However, it could also be DR. To be specific, tilt the stone a little and take another reading twice, verifying it from at least three different angles. It’s SR if it’s still dark from all three angles. Stop this test and move on once you’ve established that for sure.
It’s most likely AGG if your stone began off the light and appears to continue light. Inclusions or high RI readings can lead a DR stone to appear AGG for various reasons. Your stone may “blink” from light to dark and back to light, or vice versa. It could be DR or SR with ADR, which stands for anomalous (false) DR in this scenario. More testing is required in this scenario. Amber, opal, diamond, synthetic spinel, garnets with red in their colors (orange, purple, red), and glass are all ADR stones. While the stone appears to be “light,” it may have a “crosshatch” pattern, which is a sign of an ADR and a strong indication that the stone is synthetic spinel. You most likely have an SR stone with ADR if you witness dark and light bands that appear to move and even cross as you revolve the analyzer lens.
Polarizer Tips:
To reduce the amount of light bouncing around the facets of stones with a high RI, they should be tested on their sides rather than face down to get the best results.
Small stones might be challenging to read. Place the magnifying lens from your refractometer on top of the analyzer lens to obtain a better view. If your stone is extensively included, attempt to look at only the most transparent regions.
If your stone is red and has a refractive index of 1.73 or above, skip the polariscope and go straight to the dichroscope.
What are the Three Characteristics that Distinguish a Gemstone?
Underground crystallization of gems often necessitates highly high pressures and temperatures to occur. The needs of time and space are rather basic. The proper combination of chemicals, heat, and pressure must be maintained for an extended period for the minerals to crystallize. They also require space to develop.
Depending on the following three circumstances, interlinking crystals grow within the intrusive igneous rock, sometimes creating jewels.
- There are elements present,
- Time to cool off,
- The natural world.
What Makes Gemstones Unique?
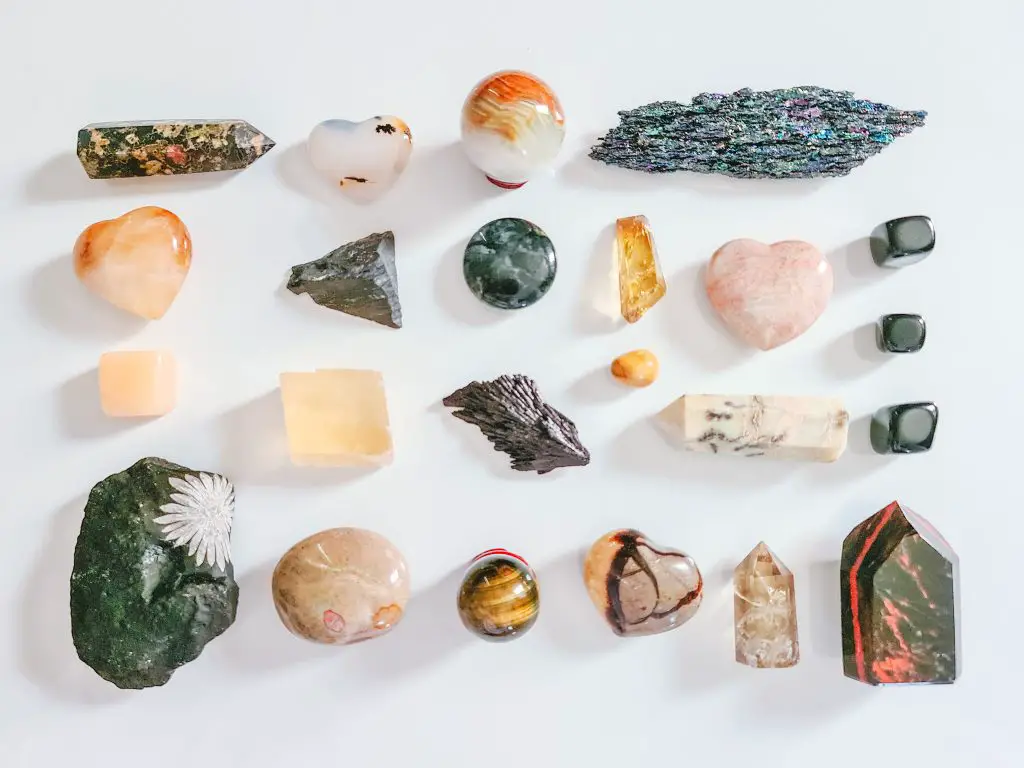
A gemstone is any of a variety of minerals that are highly regarded for their beauty, durability, and rarity. Gemstones include a variety of noncrystalline organic materials (such as pearls, red coral, and amber) and crystalline materials (such as diamonds). Historically, gemstones have captivated people from the dawn of time, and they have long been utilized in jewelry.
What is the Hardest Gemstone?
Diamond is considered the most burdensome stone on the planet and can scratch any other stone, and talc is the softest of all the minerals. Gypsum, calcite, fluorite, apatite, orthoclase feldspar, quartz, topaz, and corundum are reference minerals found in between.
The diamond is the hardest of all jewels, but talc is an incredibly soft mineral. The Mohs Hardness Scale is a scale that is used to determine the hardness of different minerals.
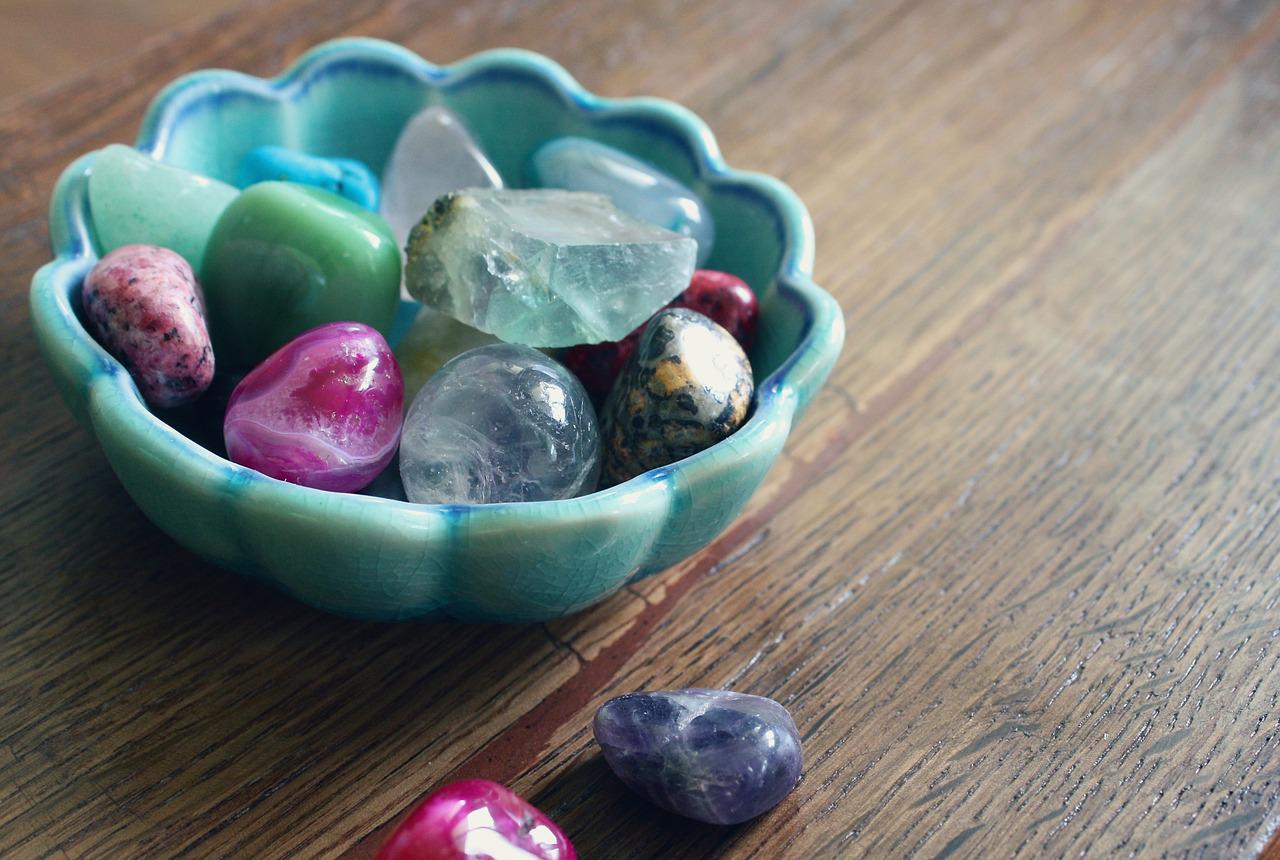
What are the Purposes of Gemstones?
Essentially, gemstones are utilized to accentuate, balance, and redirect specific energies represented by natal planets or transiting planets in the horoscope. Nonetheless, it can be used to warn you about the consequences of your activities, which might serve as a disincentive to take action in the first place.
Gemstones operate based on the transmission of wavelengths specific to a particular planet and its orbit. When we wear a gemstone, it increases the absorption of cosmic rays from the planet it symbolizes – keep in mind that cosmic rays are different from light rays, increasing our overall health.
Conclusion
It is critical to correctly identify your gemstone to avoid financial loss and keep your excellent reputation. Whenever a gemstone is identified correctly, it will always gleam and glimmer as if it had just been extracted from the earth. How accurate the results are going to be will astound you. Even if you haven’t seen your gemstone in a long time, you must keep it as clean as possible. Ask a jeweler if you are unsure of the correct name of your gemstone if you are not sure.